NodeMCU ESP8266
Interactive NodeMCU ESP8266 pinout: D-pin to GPIO mapping, boot pins D3/D4/D8, the 0–3.2 V A0 input, Arduino IDE setup and a compile-checked blink.
Community draft — report a mistake
The NodeMCU is the board that made Wi-Fi projects affordable: an ESP8266 ESP-12E module, a USB-serial chip and a 3.3 V regulator on a breadboard-friendly stick. It is still everywhere in Indian kits and college labs.
It has one CPU core, no Bluetooth and a single analog input, so new designs usually pick an ESP32. But for a simple Wi-Fi relay, a sensor that posts to MQTT, or a dashboard on your phone, it remains a cheap, well-supported choice.
The silkscreen uses D-numbers that don’t match the GPIO numbers — the main source of confusion. The interactive pinout below shows both, and marks the three boot pins you must keep in the right state at power-up.
Interactive pinout
Hover or tap a pin for its functions and traps. Filter to light up every I2C, ADC or boot pin.
- Safe for most uses
- Works, with a caveat
- Avoid unless you know why
- Power / control
Boot pins: D3 (GPIO0), D4 (GPIO2) high, D8 (GPIO15) low. Those levels at reset decide whether the board runs your sketch. A relay or sensor that pulls one the wrong way stops the board from booting.
Never use SD0–SD3, CMD or CLK. They drive the flash chip. Touching them crashes or bricks the running firmware.
D-labels are not GPIO numbers. In code, D5 means GPIO14. Use the D-names (D1, D2 …) in Arduino sketches and the GPIO numbers in MicroPython. The pinout below lists both.
Set up your computer
- Install Arduino IDE 2.x from arduino.cc.
- File → Preferences → Additional boards manager URLs:
https://arduino.esp8266.com/stable/package_esp8266com_index.json - Boards Manager → install esp8266 by ESP8266 Community (we compile against esp8266 3.1.2).
- Tools → Board → NodeMCU 1.0 (ESP-12E Module), then pick the port that appears when you plug the board in.
Your platformio.ini:
[env:nodemcuv2]
platform = espressif8266
board = nodemcuv2
framework = arduino
monitor_speed = 115200
[env:nodemcuv2] platform = espressif8266 board = nodemcuv2 framework = arduino monitor_speed = 115200
- Download the firmware from micropython.org.
- Flash it with
esptool(erase first), then open Thonny → Interpreter → MicroPython (ESP8266).
First program
// First program for the NodeMCU (ESP8266): blink the blue LED on the ESP-12 module.
// LED_BUILTIN is GPIO2 (D4) and is INVERTED (LOW = on). GPIO2 must be high at boot,
// which is why the LED is wired that way — keep other loads off D4.
void setup() {
  Serial.begin(115200);
  pinMode(LED_BUILTIN, OUTPUT);
  Serial.println();
  Serial.println(F("FlashReady: NodeMCU blink"));
}

void loop() {
  digitalWrite(LED_BUILTIN, LOW);   // on
  delay(500);
  digitalWrite(LED_BUILTIN, HIGH);  // off
  delay(500);
}
// First program for the NodeMCU (ESP8266): blink the blue LED on the ESP-12 module.
// LED_BUILTIN is GPIO2 (D4) and is INVERTED (LOW = on). GPIO2 must be high at boot,
// which is why the LED is wired that way — keep other loads off D4.
void setup() {
Serial.begin(115200);
pinMode(LED_BUILTIN, OUTPUT);
Serial.println();
Serial.println(F("FlashReady: NodeMCU blink"));
}
void loop() {
digitalWrite(LED_BUILTIN, LOW); // on
delay(500);
digitalWrite(LED_BUILTIN, HIGH); // off
delay(500);
}Components with NodeMCU ESP8266
- 74HC595 8-bit shift register (DIP-16) Arduino C++
- Active buzzer module (high-level trigger) Arduino C++
- BH1750 lux sensor (GY-302) Arduino C++
- BME280 breakout Arduino C++
- BMP280 breakout (GY-BMP280) Arduino C++
- Capacitive soil moisture sensor v1.2 Arduino C++
- DHT11 Arduino C++
- DHT22 (AM2302) Arduino C++
- DS18B20 (1-Wire) Arduino C++
- DS3231 real-time clock (RTC) module Arduino C++
- HC-12 433 MHz wireless serial module Arduino C++
- HC-SR04 ultrasonic sensor Arduino C++
- HX711 load cell amplifier Arduino C++
- INA219 DC current/voltage sensor Arduino C++
- VS1838B IR receiver (38 kHz) Arduino C++
- L298N dual H-bridge motor driver Arduino C++
- 16×2 LCD + I2C backpack Arduino C++
- 20×4 LCD + I2C backpack Arduino C++
- LDR light sensor module Arduino C++
- MAX7219 8×8 LED matrix (4-in-1 FC-16 module) Arduino C++
- MPU6050 (GY-521) Arduino C++
- MQ-135 gas sensor module Arduino C++
- MQ-2 gas sensor module Arduino C++
- NEO-6M GPS module (GY-NEO6MV2) Arduino C++
- HC-SR501 PIR motion sensor Arduino C++
- Push button (6 mm tactile switch) Arduino C++
- PZEM-004T v3.0 AC energy meter (100 A with CT) Arduino C++
- Rain sensor (FC-37 / YL-83) Arduino C++
- RC522 RFID reader (MFRC522, 13.56 MHz) Arduino C++
- 1-channel relay module (5 V coil) Arduino C++
- KY-040 rotary encoder Arduino C++
- SG90 micro servo (9 g) Arduino C++
- SH1106 OLED 1.3″ (128×64, I2C) Arduino C++
- SIM800L GSM/GPRS module (2G) Arduino C++
- SSD1306 OLED 0.96″ (128×64, I2C) Arduino C++
- SX1278 LoRa module (Ra-02, 433 MHz) Arduino C++
- TM1637 4-digit 7-segment display Arduino C++
- WS2812B addressable RGB LED strip (NeoPixel) Arduino C++
Common errors
Board resets and prints garbage at 74880 baud
That is the boot ROM's message. Set the Serial Monitor to 74880 to read it — it usually says "rst cause" and points to a power or boot-pin problem.
espcomm_upload_mem failed / Failed to connect
Wrong port, a charge-only cable, or a missing CP2102/CH340 driver. Hold FLASH while the upload starts if auto-reset fails.
WDT reset during Wi-Fi or long loops
Long blocking loops starve the Wi-Fi stack. Add yield() or delay(0) inside long loops and avoid busy-waiting.
analogRead(A0) maxes out too early
The NodeMCU divider (220 kΩ / 100 kΩ) maps about 0–3.2 V to 0–1023. Do not feed more than 3.3 V; for 5 V signals add your own divider.
Projects for NodeMCU ESP8266
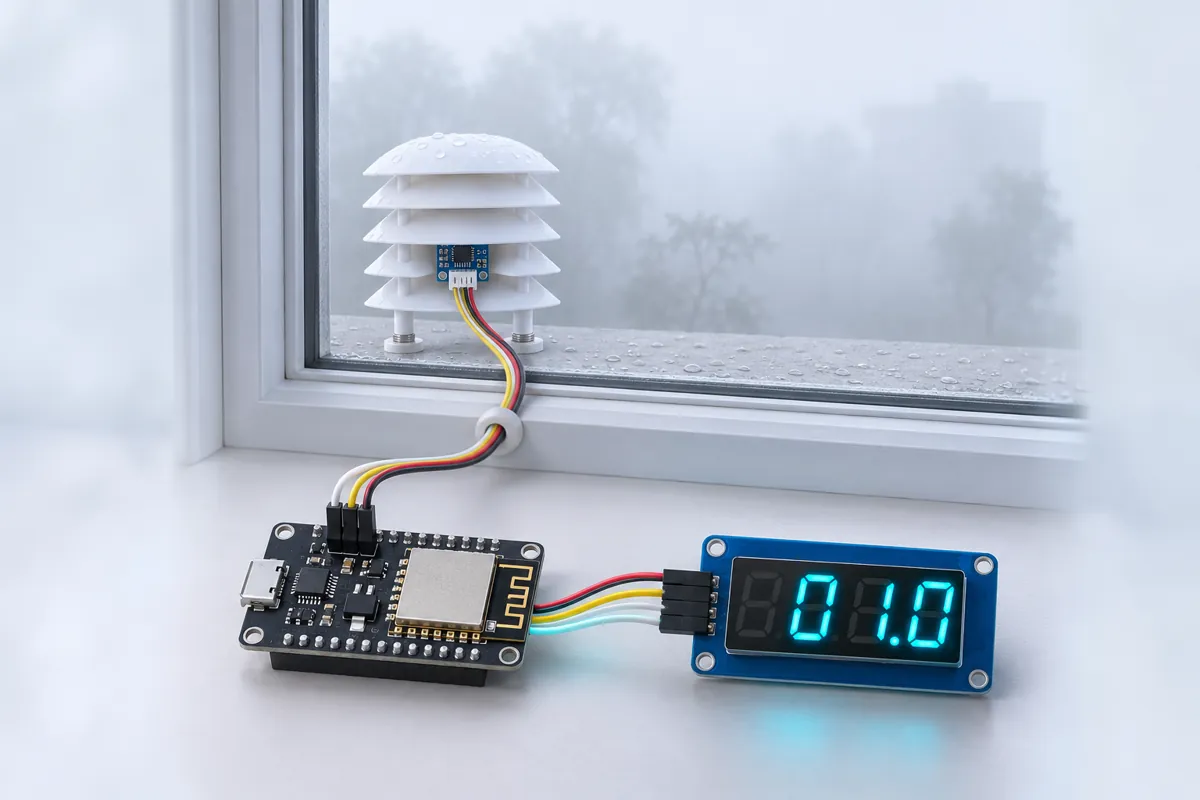
Winter fog risk indicator from the dew point (NodeMCU + SHT31)
Temperature, dew point and a flashing FOG warning before the early drive or school run.
1 h · Weather
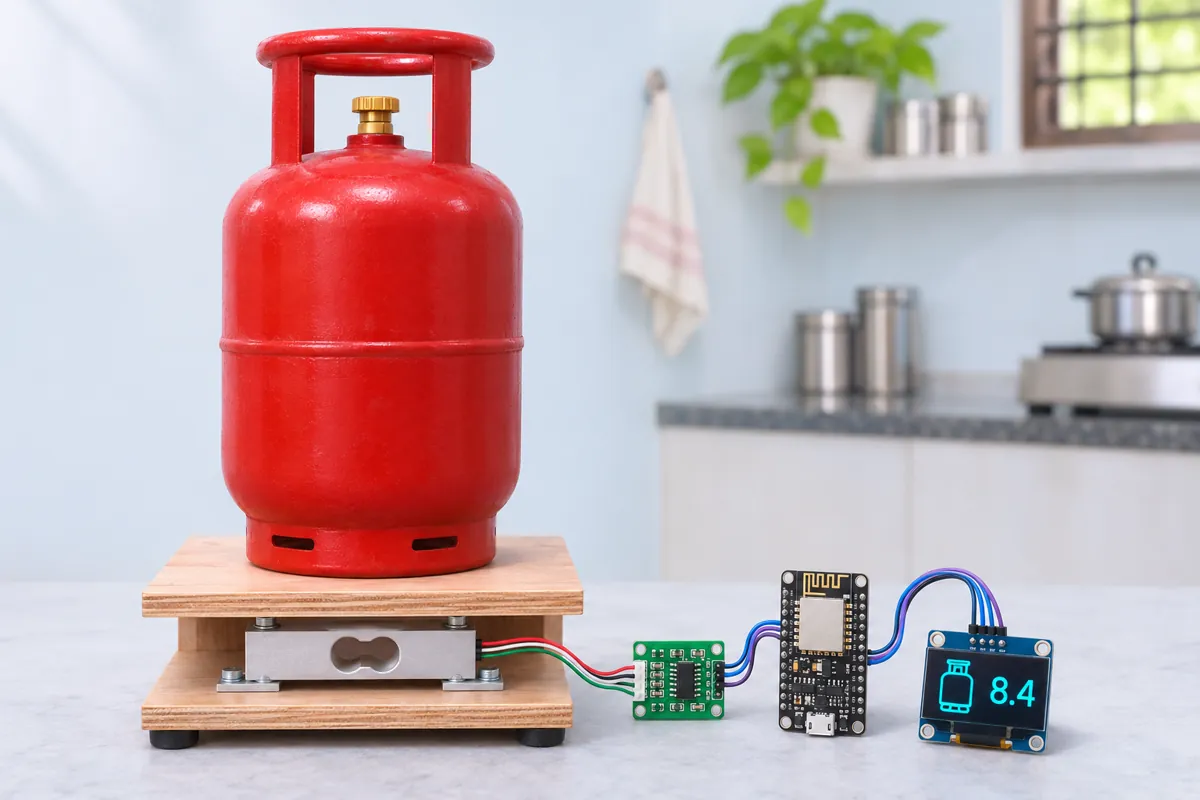
LPG cylinder gas-left monitor with refill alert (NodeMCU + HX711)
Shows kg of gas left in the cylinder and pings your phone when it’s time to book.
3 h · India utility
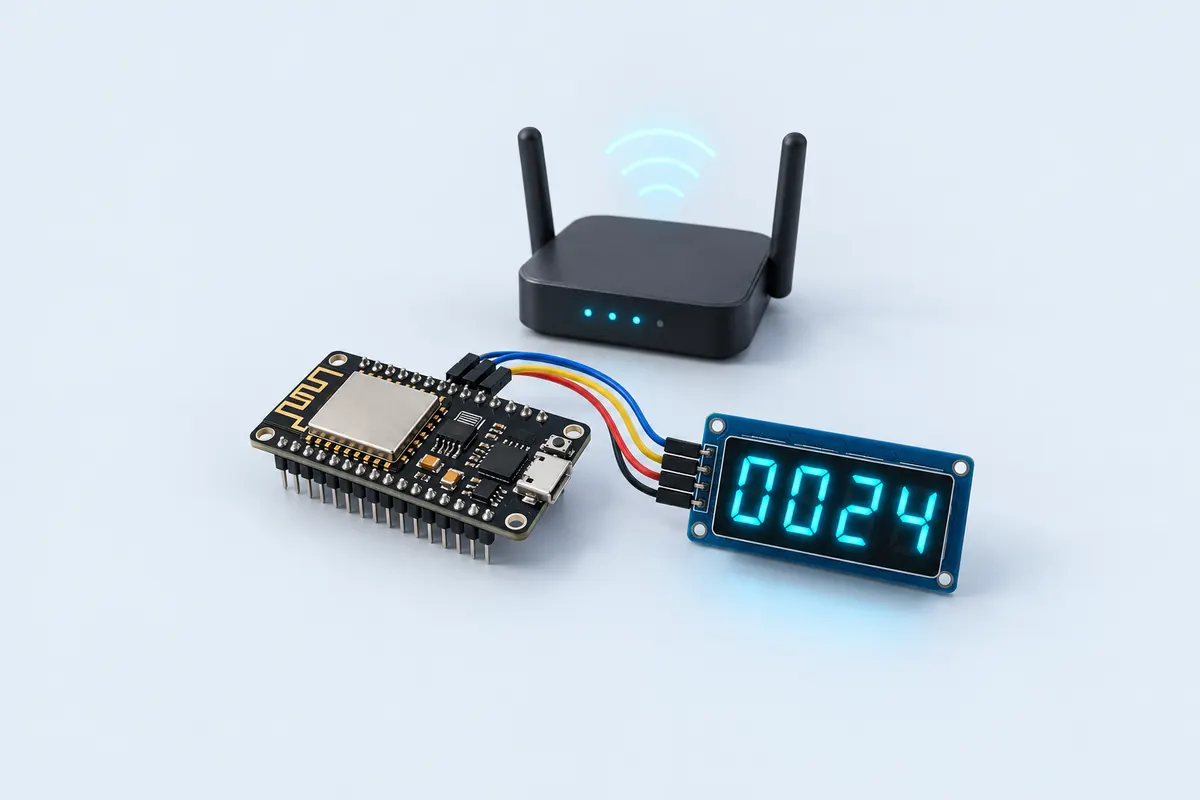
Internet latency display on a 4-digit LED (NodeMCU ESP8266 + TM1637)
Your internet latency in milliseconds on a bright 4-digit display.
30 min · Network & ISP tools
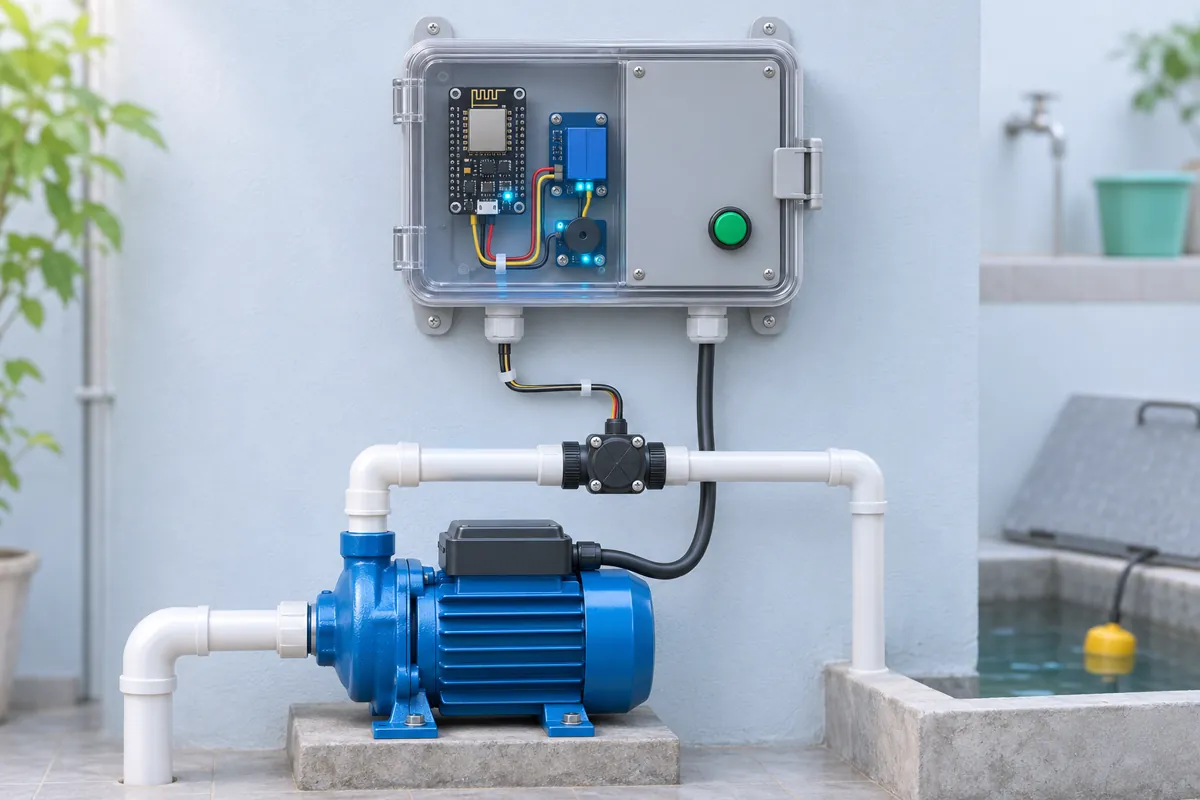
Pump dry-run cut-off with a water flow sensor (NodeMCU ESP8266)
No water in the pipe within 45 s? The pump stops and waits 30 minutes.
3 h · India utility
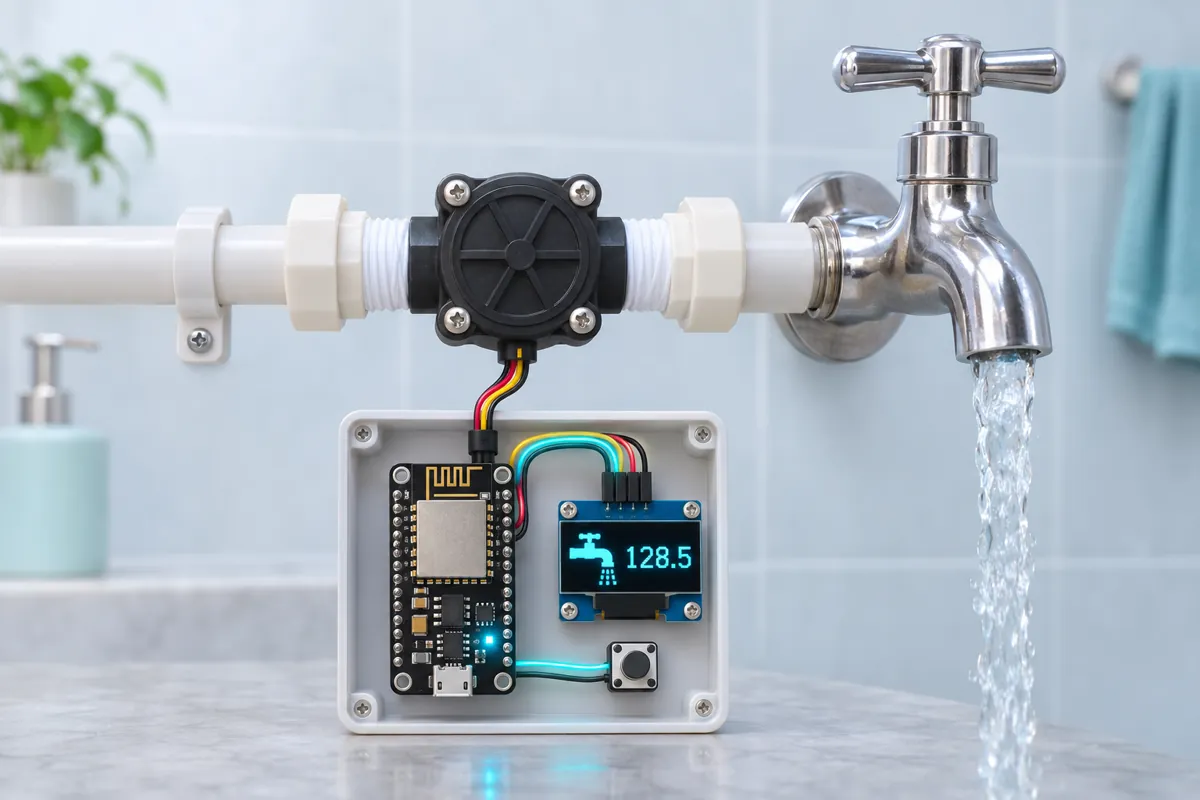
Household water usage meter in litres (NodeMCU + flow sensor)
Litres per day from your overhead tank, plus a “tap left open?” warning.
2 h · India utility
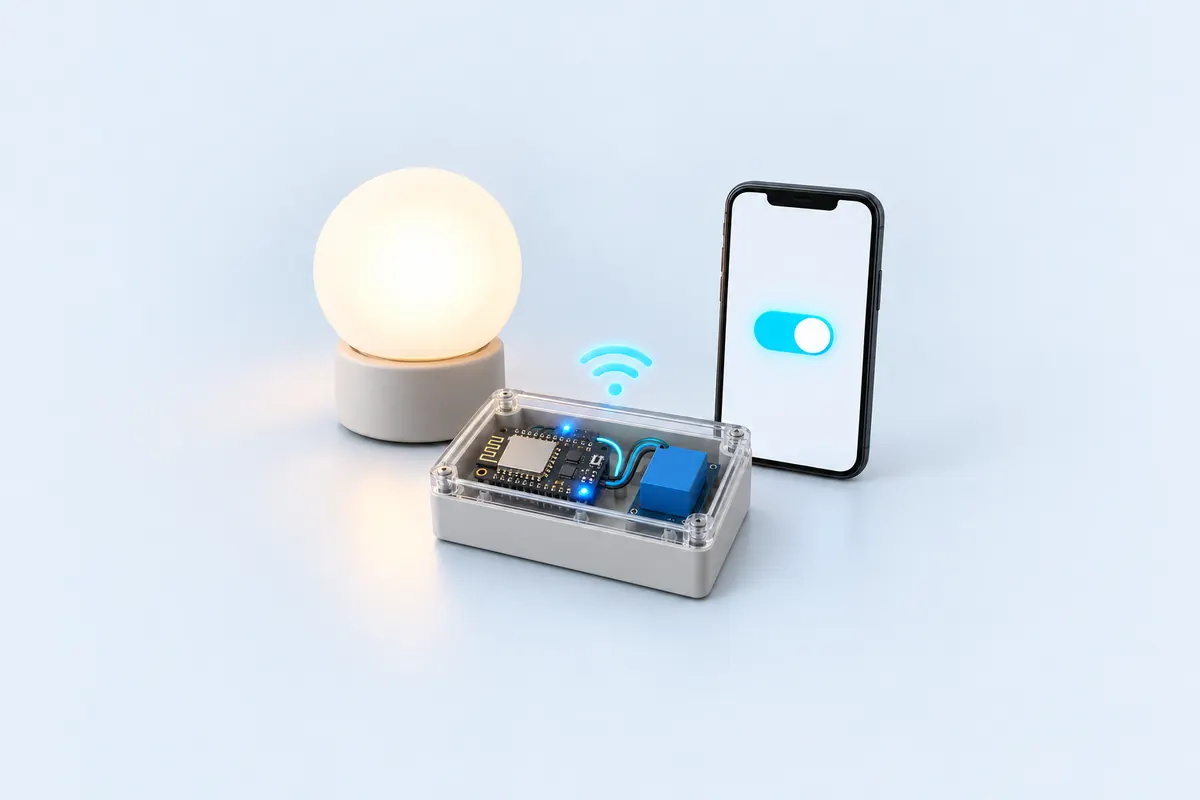
Wi-Fi relay switch for a lamp (NodeMCU ESP8266)
Turn a lamp on and off from a web page on your phone.
1 h · Home automation
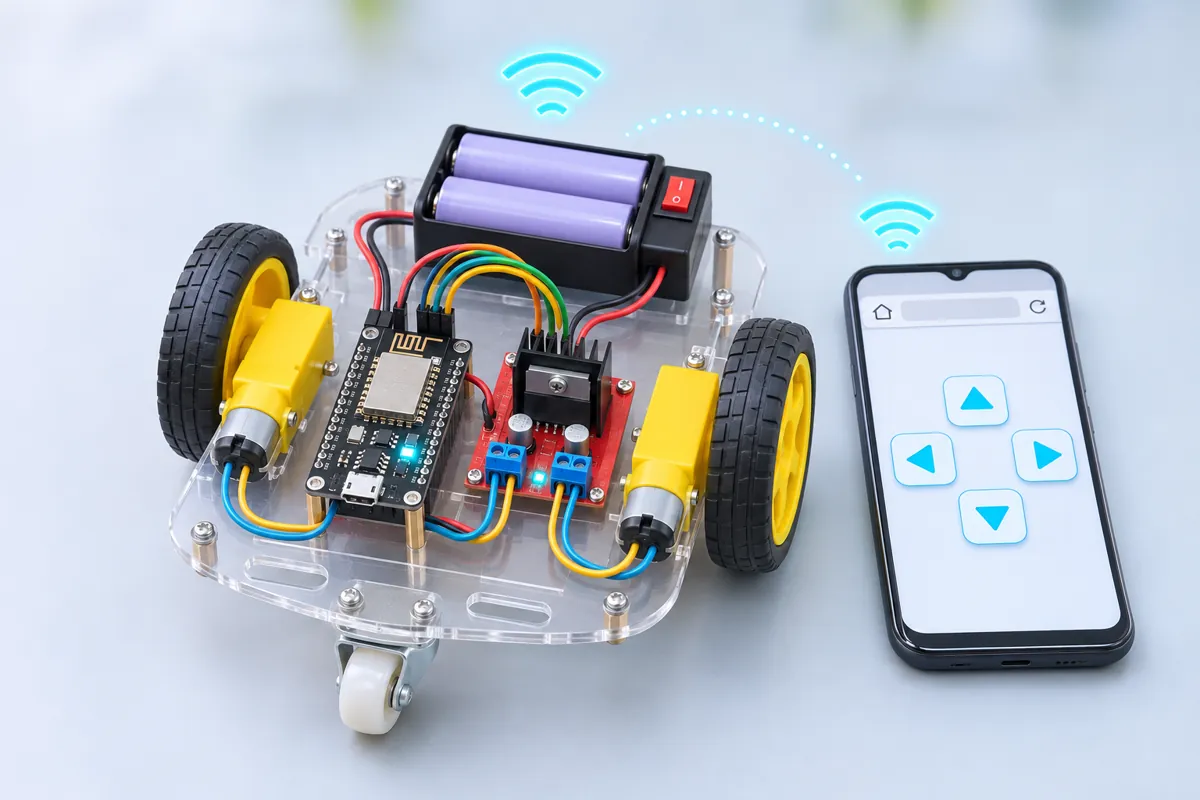
Wi-Fi robot car driven from any phone browser (NodeMCU + L298N)
Drive it from a phone browser over its own Wi-Fi — no app to install.
2.5 h · Robotics