ESP32-C6-DevKitC-1
Interactive ESP32-C6-DevKitC-1 pinout with strapping, USB and RGB LED pins marked, Arduino IDE (core 3.x) and MicroPython setup, and a compile-checked RGB blink.
Community draft — report a mistake
The ESP32-C6 is Espressif’s first chip with Wi-Fi 6 and an 802.15.4 radio, so one board can join a Thread or Zigbee network as well as your Wi-Fi — the building blocks of Matter smart-home devices.
The DevKitC-1 keeps the familiar Espressif layout: two headers, a BOOT and a RESET button, an addressable RGB LED on GPIO8, and two USB-C ports — one through a USB-UART bridge, one straight to the chip’s USB-Serial-JTAG.
Arduino support needs core 3.x. Most classic ESP32 sketches carry over; code that used the old LEDC or timer APIs from core 2.x needs the 3.x function names.
Interactive pinout
Hover or tap a pin for its functions and traps. Filter to light up every I2C, ADC or boot pin.
- Safe for most uses
- Works, with a caveat
- Avoid unless you know why
- Power / control
Strapping pins: GPIO 4, 5, 8, 9, 15. GPIO9 is the BOOT button and GPIO8 carries the RGB LED. Keep pull-ups, pull-downs and buttons off the strapping pins.
GPIO 12 and 13 are the USB port. They are the native USB data lines. Use them for anything else and the "USB" port stops working.
Default I2C is GPIO 23 (SDA) and 22 (SCL). Those, plus GPIO 18–21 for SPI, are the easiest free pins. ADC1 is on GPIO 0–6.
Set up your computer
- Install Arduino IDE 2.x from arduino.cc.
- File → Preferences → Additional boards manager URLs:
https://espressif.github.io/arduino-esp32/package_esp32_index.json - Boards Manager → install esp32 by Espressif Systems (version 3.x — the C6 is not in 2.x) (we compile against esp32 3.3.12).
- Tools → Board → ESP32C6 Dev Module, then pick the port that appears when you plug the board in.
- Download the firmware from micropython.org.
- Flash it with
esptoolover either USB port. - Open Thonny → Interpreter → MicroPython (ESP32).
First program
// First program for the ESP32-C6-DevKitC-1: blink the on-board RGB LED on GPIO8.
// GPIO8 is a strapping pin, so the LED is the only thing that should be on it.
// Serial goes to the "UART" USB-C port at 115200 baud.
constexpr uint8_t RGB_PIN = 8;

void setup() {
  Serial.begin(115200);
  Serial.println("FlashReady: ESP32-C6 RGB blink");
}

void loop() {
  rgbLedWrite(RGB_PIN, 0, 30, 30);  // cyan, dim
  delay(500);
  rgbLedWrite(RGB_PIN, 0, 0, 0);    // off
  delay(500);
}
// First program for the ESP32-C6-DevKitC-1: blink the on-board RGB LED on GPIO8.
// GPIO8 is a strapping pin, so the LED is the only thing that should be on it.
// Serial goes to the "UART" USB-C port at 115200 baud.
constexpr uint8_t RGB_PIN = 8;
void setup() {
Serial.begin(115200);
Serial.println("FlashReady: ESP32-C6 RGB blink");
}
void loop() {
rgbLedWrite(RGB_PIN, 0, 30, 30); // cyan, dim
delay(500);
rgbLedWrite(RGB_PIN, 0, 0, 0); // off
delay(500);
}Components with ESP32-C6-DevKitC-1
- AHT20 temperature + humidity sensor Arduino C++
- BME280 breakout Arduino C++
- DHT22 (AM2302) Arduino C++
- DS18B20 (1-Wire) Arduino C++
- 1-channel relay module (5 V coil) Arduino C++
- SG90 micro servo (9 g) Arduino C++
- SSD1306 OLED 0.96″ (128×64, I2C) Arduino C++
- WS2812B addressable RGB LED strip (NeoPixel) Arduino C++
Common errors
ESP32C6 Dev Module is not in the board list
Your esp32 core is 2.x. Update "esp32 by Espressif Systems" to 3.x in Boards Manager — the C6 needs it.
Serial output only appears on one USB port
With USB CDC On Boot disabled, Serial goes to the "UART" port. Enable it in Tools to print over the native "USB" port instead.
Timed out waiting for packet header
Hold BOOT, tap RESET, release BOOT, then upload. Full fix guide.
Projects for ESP32-C6-DevKitC-1
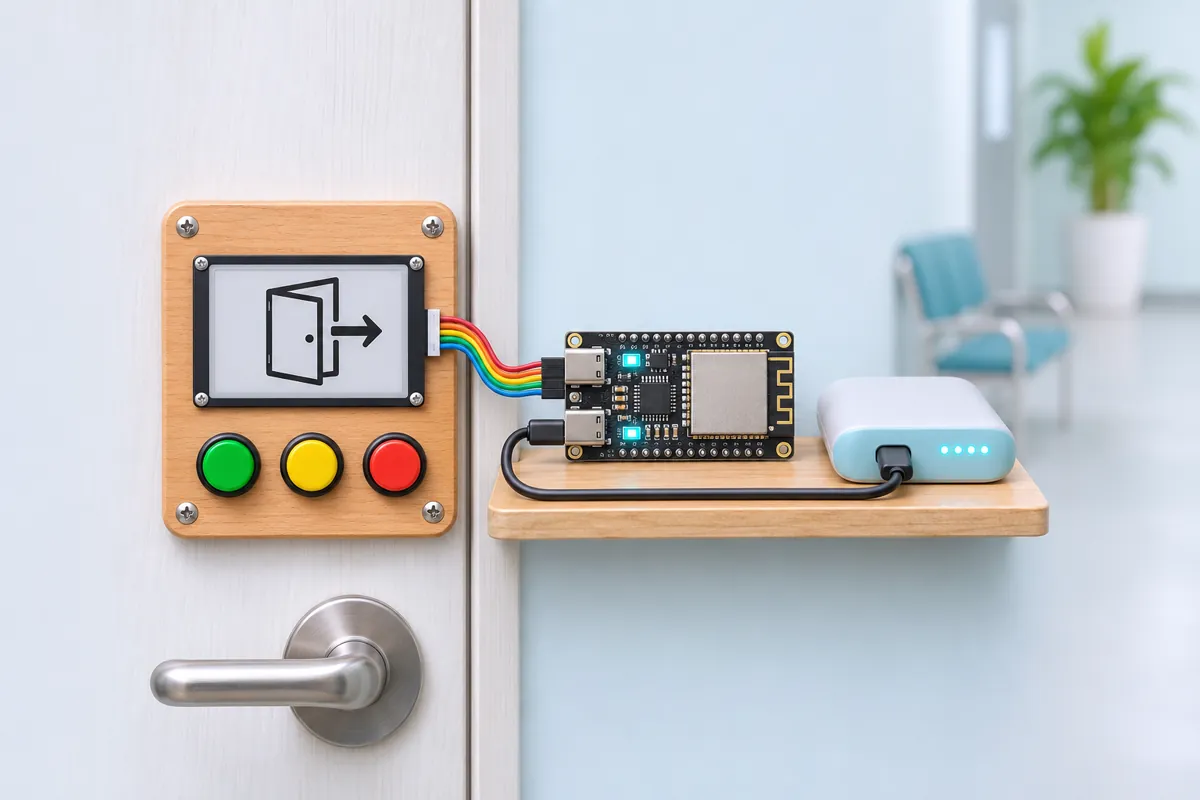
E-paper door sign for a clinic or office — IN / WAIT / OUT at a button press (ESP32-C6)
One press tells the waiting room whether the doctor is in — and it stays readable through power cuts.
1.5 h · India utility
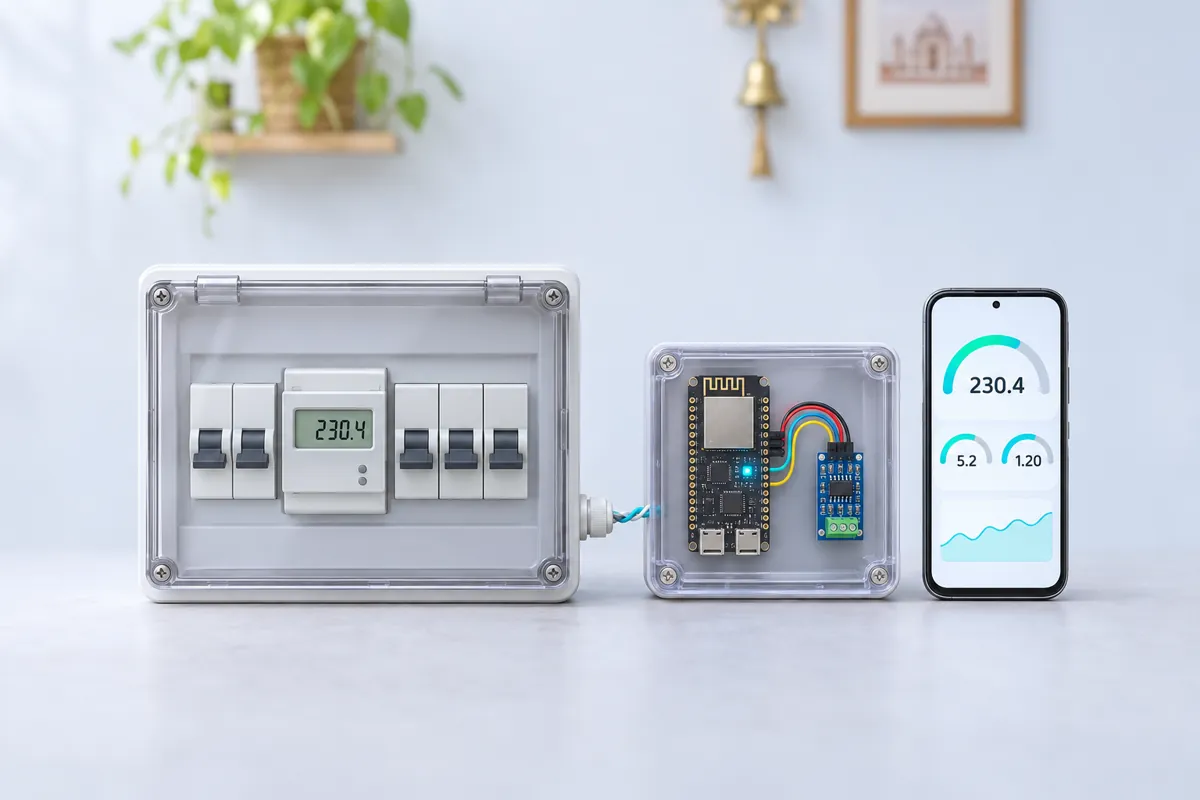
Read a DIN-rail energy meter over Modbus RS-485 and show it on Wi-Fi (ESP32-C6)
Your meter already measures everything — this reads it over RS-485 and puts it on your phone.
2 h (plus the electrician’s meter installation) · Home automation
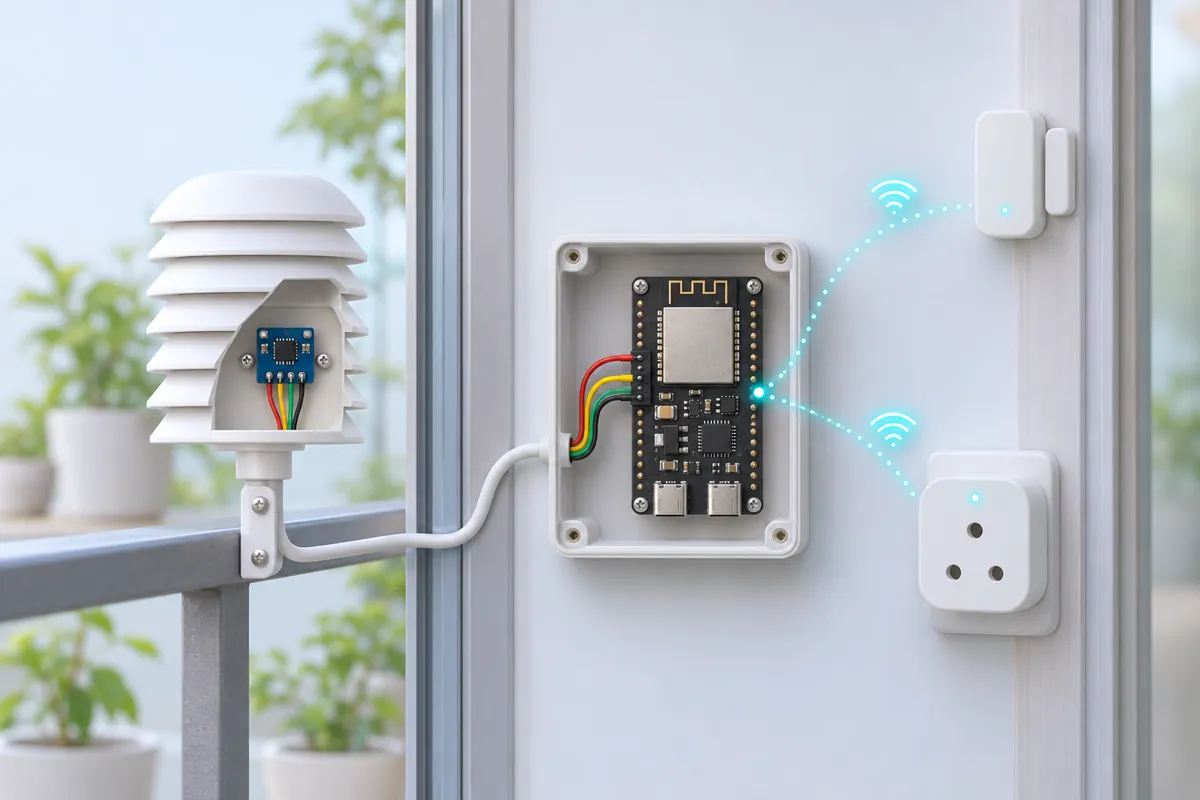
Zigbee balcony temperature and humidity sensor that extends your mesh (ESP32-C6)
Outdoor temperature and humidity in Home Assistant over Zigbee — and a stronger mesh for free.
1.5 h · Weather